In the
last episode, I wrote about the Panasonic DMC-FZ18's main menu structure, but I omitted all of the items that you could access through the camera's "quick access" menu that you reach by pressing in on the joystick on the back of the camera. Time to explore those settings.
(Note: Although this article is specific to the DMC-FZ18, most cameras of this type have similar settings.)
Start by pressing the joystick straight in for a second or so. This brings up the quick-access menu. Move the joystick left or right to move between menus, and up or down to select a particular menu item.
We'll go from left to right.
STABILIZER (little waving hand symbol) The stabilizer helps to neutralize camera shake, allowing you to use a slower shutter speed. There are three settings for the stabilizer.
* 2 At this setting, the stabilizer only begins working as the shutter release is pressed. This is the recommended setting to get the maximum amount of camera-shake removal.
* 1 This is the setting that I use. At this setting, the stabilizer runs continuously, but the amount of shake-removal is somewhat less. However, this setting will help to stabilize the camera when you're trying to frame the picture with the lens at a telephoto setting.
* OFF At this setting, the stabilizer is turned off. Some people feel that you should use this setting when the camera is mounted on a tripod.
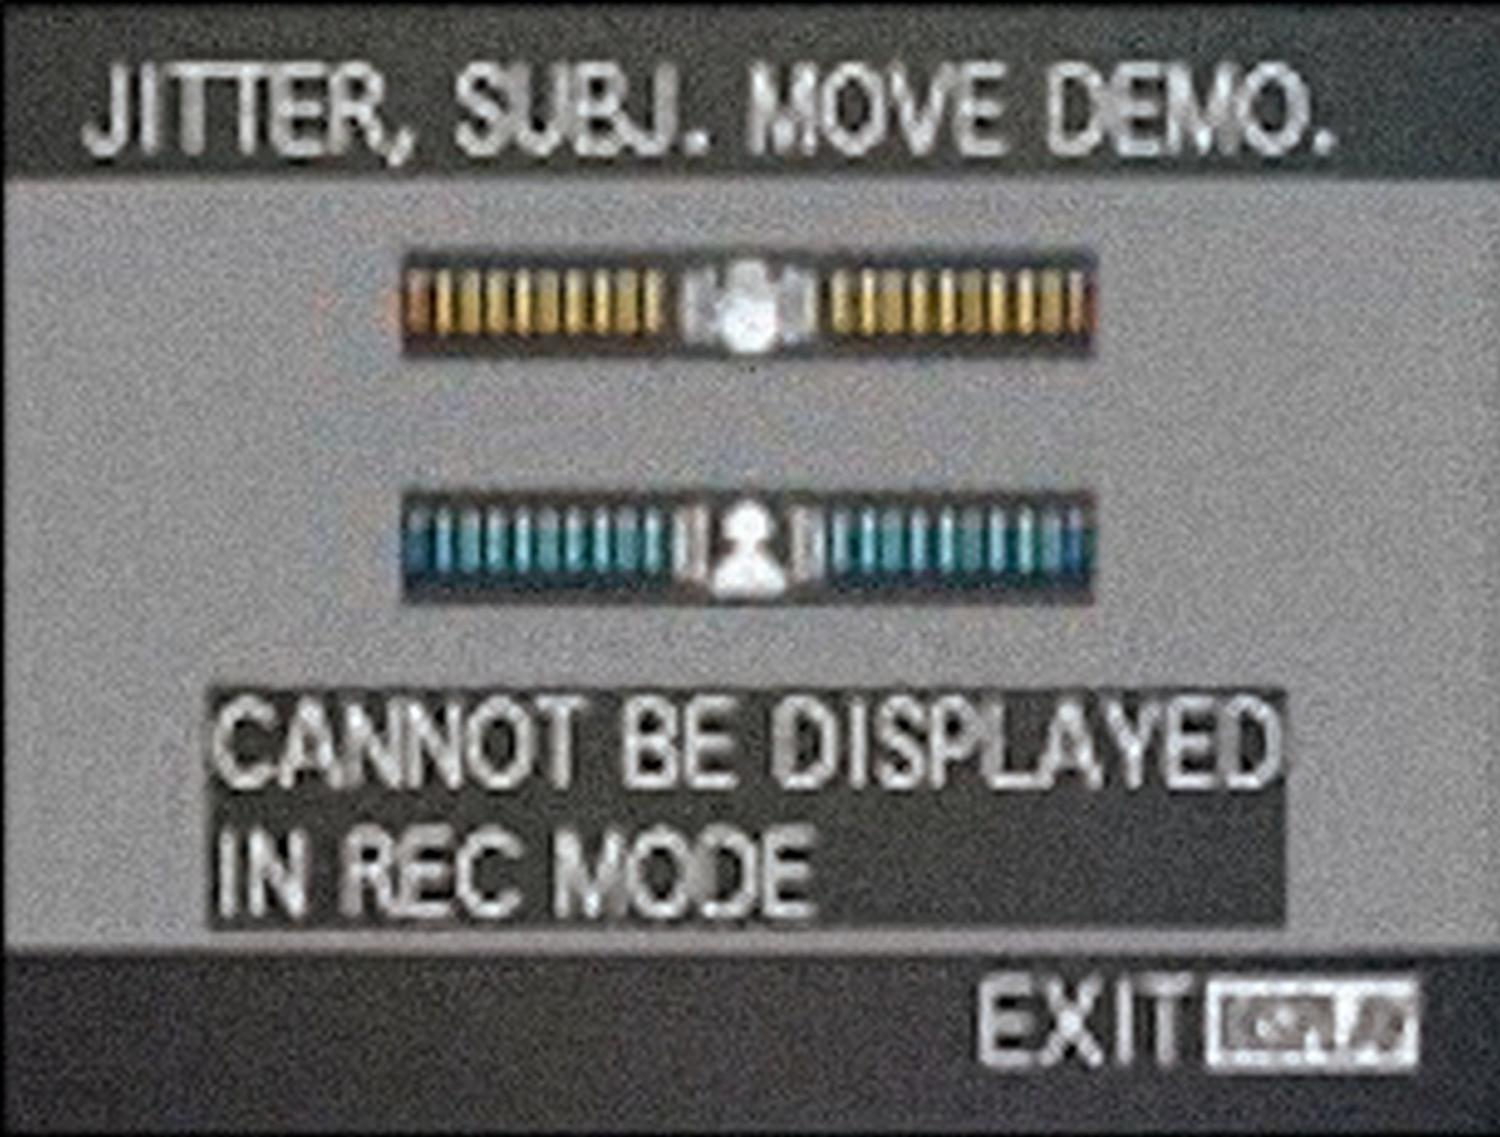
But wait, there's more! There's a neat hidden feature that you can access when you're on the stabilizer menu. If you press the DISPLAY button (just below the joystick), you'll bring up a demo of how the image stabilizer works and you can measure the steadiness of your camera grip. You'll see something like this superimposed in the viewfinder:
The two bar graphs get wider when the image moves and smaller when the image is steady. The upper graph shows how steadily you're holding the camera. This is the motion that can be helped by the image stabilizer. The bottom graph shows how much the subject is moving. This motion can't be fixed by the image stabilizer. Play with this for a while, trying different zoom settings and subjects and you'll learn a lot about using this very important feature.
AF MODE This determines how the autofocus works, with each setting choosing where in the picture the focus system looks, and how quickly it focuses. There are a number of different patterns and speeds. I use the setting that looks like
***H (Three little squares and an H.) This gives a good blend of fast focusing, with multiple focus points, so you're more likely to get a hit.
METERING MODE This setting determines which areas of the scene are used to set the exposure. The top setting uses the whole image. It's a good all-around setting, but can fail in tricky lighting situations because it doesn't know which area of the picture is important. The middle setting is center-weighted and tends to favor things toward the center of the image.
The bottom setting displays a little cross at the center of the viewfinder and only measures the light at that point. This is the most difficult setting to master, but with practice will yield the most accurate exposure. You can use this setting along with the AF/AE LOCK button to first lock the exposure, then frame the picture, (More about this in a future article.)
WHITE BALANCE Every light source (daylight, tungsten, fluorescent, flash) has a different color spectrum, and using the wrong setting for the white balance can yield a picture where the colors are wildly off. (Don't panic, most of these errors can be fixed when the picture is in the computer.)
Most of the time, I leave this on
AWB (Auto White Balance) and the camera does the right thing. (Each new generation of digital camera does this a little better, and the FZ18 is the best I've used so far.) You can play with the other settings by just cursoring up and down until you get a setting that gives the most realistic image. If this doesn't work, there are two custom white balance settings.
ISO (Sensitivity) Lower settings give better image quality, but aren't useful in low-light situations. Higher settings are better in low light, but the images will have more noise. As I mentioned in the previous article, I have the
ISOMAX feature turned on, so the camera automatically sets the sensitivity. When this feature is enabled, the ISO menus are different. Instead of seeing actual ISO speeds, you can set the maximum speed that the ISOMAX is allowed to use.
PICTURE SIZE I leave this set at
8M (8 megapixels). This is the highest setting and gives you the most to work with when cropping and when you lust after large prints.
PICTURE QUALITY I use the top setting, which yields a JPEG image that's very, very good, and is automatically corrected for faults like lens distortion and color fringing. If you use RAW, you can set it lower down on this menu.
Storage has become so cheap that it doesn't pay to use anything less than the largest picture size and the highest quality setting. I have a 16GB card in my FZ18. It cost about $60 and it will store over 4000 images at the 8 Megapixel setting and at the highest quality.
These are the settings I've been using on the DMC-FZ18. I've had it for almost a year now, and it's the best all-around camera that I've owned in over fifty years of both amateur and professional photography.
Copyright 1957-2023 Tony & Marilyn Karp